Keeping the correct time on your Honda’s clock is more than a convenience; it’s crucial for staying punctual and avoiding unnecessary distractions while driving. Whether it’s due to daylight saving time, a drained battery, or simple maintenance, there are moments when you’ll need to adjust the car clock. This guide will provide you with a step-by-step approach to help you adjust your Honda car clock with ease, regardless of the model.
Why Adjusting Your Car Clock Matters
A correctly set clock helps ensure that you’re always on time for appointments, meetings, and daily routines. Additionally, an accurate clock prevents potential confusion during time-sensitive commutes or road trips. Misaligned time can disrupt not only your schedule but also your mental focus on the road, which is crucial for safety.
Locating the Clock Adjustment Controls
The first step in adjusting your Honda car clock is to identify the clock adjustment controls. These can vary depending on the model and year of your vehicle:
- Dashboard Buttons: In older Honda models, you might find dedicated buttons labeled "H" for hour, "M" for minute, and "Clock."
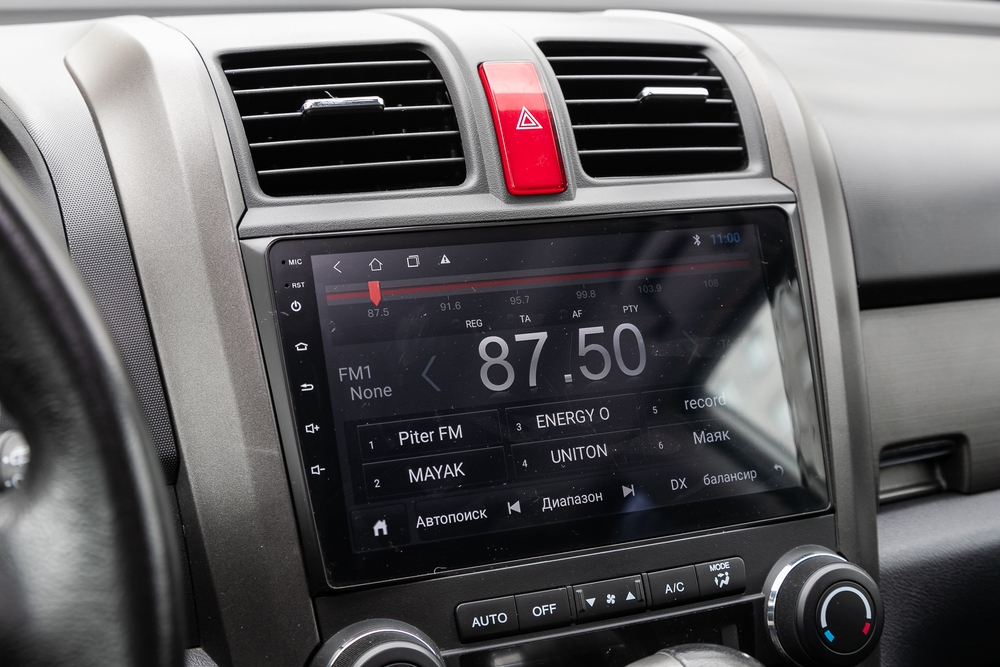
- Audio System Controls: Some models integrate clock settings within the audio system. Look for a "Clock" button or similar controls near the radio.
- Infotainment Screen: Newer models often feature a touchscreen infotainment system. The clock adjustment will typically be found in the system’s settings menu.
Step-by-Step Instructions for Various Models
- For Older Models with Physical Buttons:
- Turn the Ignition On: Begin by switching the ignition to the "On" position without starting the engine.
- Press and Hold the "Clock" Button: Hold down the "Clock" button until the time display begins to flash.
- Set the Time: Use the "H" button to adjust the hours and the "M" button for the minutes.
- Confirm the Time: Once the correct time is set, press the "Clock" button again to lock in the new settings.
- For Models with an Audio System:
- Access the Clock Settings: Press the "Clock" or "Menu" button on the audio system.
- Adjust the Time: Use the seek or tuning knob to change the hour and minute.
- Save the Settings: Confirm your changes by pressing the "Enter" or "Clock" button again.
- For Models with a Touchscreen:
- Navigate to Settings: Access the infotainment screen and tap the settings icon.
- Select Clock or Time Settings: Look for the clock adjustment menu.
- Set the Time: Adjust the hour and minute using the on-screen controls.
- Save and Exit: Confirm the settings to save the new time.
Troubleshooting Common Issues
Even with detailed instructions, you might encounter some challenges:
- Clock Resets Frequently: If your clock resets every time you start the car, it could be a sign of a weak battery or a malfunctioning electrical system. A professional checkup may be required.
- Difficulty Accessing Clock Settings: Infotainment systems can sometimes be less intuitive. If you’re struggling, consult your Honda’s owner manual or visit a professional service center.
- Incorrect Time Display: If the time displayed doesn’t match the adjustments you’ve made, double-check if your car is set to the correct time zone or if daylight saving time is enabled.
Enhancing Your Driving Experience
Many newer Honda models come with features that can automatically update the clock based on GPS data or time zone changes. If your car supports this feature, enable it to minimize manual adjustments.
Need More Help? Visit Us Today!
Adjusting your Honda car clock is a simple task once you’re familiar with your vehicle’s system. However, if you face any difficulties or prefer professional assistance, our dealership is here to help. From clock adjustments to comprehensive car servicing, our experts are ready to ensure your Honda remains in perfect condition. Drop by or schedule a visit for all your car maintenance needs!

Do You Have Worn Honda Wheel Bearings?

Has Your Honda Car Stalled On The Road?

How To Fix A Honda Coolant Leak

How To Fix A Noisy Honda Engine

How To Identify Honda ECU Problems

How To Identify Honda Oil Pressure Issues

How To Identify Tire Damager In Your Honda Car

How To Solve A Shaky Honda Steering Wheel

How To Tackle A Faulty Honda Window

How To Tackle Excessive Exhaust Gas From Your Honda Car

How To Tackle Honda Tire Cracking

What Are Common Honda Electrical Issues?

Why Is Your Honda Car Heater Blowing Cold Air?

Do You Have A Clogged Honda Transmission Filter?

Do You Have A Misfiring Honda Engine?

How To Fix Squeaking Honda Brakes

How To Handle A Honda Tire Puncture

How To Identify Honda Transmission Failure Symptoms

How To Identify Uneven Honda Tire Wear

How To Improve Fuel Efficiency For Your Honda Car

How To Know If You Have A Honda Dead Battery

How To Know If You Have Honda Intermittent HID Headlight Issues

How To Replace Tail Lights For Your Honda

How To Reset The Check Engine Light In Your Honda Car

How To Tackle Overheating In Your Honda Car

Why Is Your Honda Car Not Locking Properly?

How To Change A Flat Tire For Your Honda Vehicle

How to Choose the Most Ideal Honda SUV

How To Fix Honda Airbag Warning Light
How to Identify a Honda Battery Leak

How To Identify Honda Premature Brake Disc Wear

How To Know If You Have a Honda Fuel Pump Issue

How To Know If Your Honda Engine Is Overheating
How To Reset Your Honda Airbag Module
How To Tell The Signs Of A Broken Honda Starter Motor

How to Turn Off Honda Passenger Airbag

What Should You Do When Your Honda Brake Light Comes On During Driving?
What To Do When The Honda Slip Indicator Light Comes On
Why Is My Honda Steering Wheel Shaking?

Has Your Honda Alternator Malfunctioned?
Has Your Honda Radiator Malfunctioned?
How To Adjust Your Honda Steering Wheel

How to Choose the Best Honda Hybrid Car

How To Clean Your Honda SUV Properly

How To Install A New Car Battery For Your Honda SUV

How To Install A New Honda Car Windscreen

How To Install New Tires For Your Honda Car
How To Replace Honda Brake Pads
How To Replace Honda Door Panels
How To Select Different Driving Modes In Honda Vehicles
How to Tell the Signs of a Honda Gearbox Problem

How To Tell The Signs Of A Honda Transmission Fluid Leak
What Do Honda Dashboard Warning Symbols Mean?

How To Easily Connect A Bluetooth Device To Your Honda SUV

How To Set The Ideal Tire Pressure For Honda Vehicles
How To Start And Stop A Honda Hybrid Car
How To Troubleshoot Common Honda Car AC Problems

How To Use Cruise Control In Honda Cars

How To Use Honda Voice Command

How To Replace Honda Windshield Wipers
How To Replace The Battery In Your Honda Key Fob

How To Replace Honda Engine Oil


