Regularly replacing engine oil is crucial for maintaining your Honda’s performance and extending the life of the engine. Fresh oil ensures proper lubrication, reduces engine wear, and helps maintain optimal fuel efficiency. This guide will walk you through the steps to replace engine oil, ensuring your vehicle stays in top condition.
Why Regular Oil Changes Are Important
Engine oil plays a vital role in keeping your Honda’s engine running smoothly. It lubricates the moving parts, reduces friction, helps cool the engine, and removes contaminants. Over time, engine oil breaks down and becomes less effective, which can lead to increased engine wear and reduced performance. Regular oil changes prevent these issues and help maintain the health of your engine.
Tools and Materials You’ll Need
Before getting started, gather the necessary tools and materials:
- New engine oil (check your owner’s manual for the recommended type and amount)
- A new oil filter
- Oil filter wrench
- Socket wrench or spanner
- Oil drain pan
- Funnel
- Clean rags or paper towels
- Gloves and safety glasses
Step-by-Step Guide to Replacing Engine Oil
- Warm Up the Engine:
Start by warming up your engine for a few minutes. This helps the oil flow more easily and ensures a thorough drain. - Lift and Secure the Vehicle:
Use a jack to lift the front of the car and secure it with jack stands. Ensure the vehicle is on a level surface for safety. - Drain the Old Oil:
- Place the oil drain pan under the oil drain plug.
- Use the socket wrench to loosen and remove the drain plug.
- Allow the old oil to drain completely into the pan.
- Once drained, clean the drain plug and reattach it securely.
- Remove the Old Oil Filter:
- Use the oil filter wrench to loosen and remove the old oil filter.
- Be prepared for some oil to spill out when you remove the filter.
- Clean the filter mounting surface with a rag.
- Install the New Oil Filter:
- Apply a small amount of new engine oil to the gasket of the new filter.
- Screw the new filter into place by hand until it is snug, then tighten it slightly more with the filter wrench.
- Add New Engine Oil:
- Remove the oil fill cap on the engine and insert the funnel.
- Pour the recommended amount of new engine oil into the engine.
- Replace the oil fill cap securely.
- Check the Oil Level:
- Start the engine and let it run for a few minutes.
- Turn off the engine and wait a few minutes for the oil to settle.
- Use the dipstick to check the oil level, adding more oil if necessary.
- Dispose of the Old Oil Properly:
- Pour the used oil into a sealed container and take it to a recycling center or auto parts store for proper disposal.
When to Replace Engine Oil
- Check your owner’s manual for the recommended oil change interval, usually every 5,000 to 7,500 miles.
- Replace engine oil sooner if you frequently drive in extreme conditions or heavy traffic.
Visit Us for Professional Maintenance
While replacing engine oil can be a straightforward process, it’s essential to do it correctly to avoid potential engine damage. If you prefer professional service or need assistance with any car maintenance, visit our auto dealership. Our skilled technicians can handle oil changes, repairs, parts, and tires, ensuring your Honda runs smoothly and efficiently. Stop by or schedule a service appointment today.

Do You Have Worn Honda Wheel Bearings?

Has Your Honda Car Stalled On The Road?

How To Fix A Honda Coolant Leak

How To Fix A Noisy Honda Engine

How To Identify Honda ECU Problems

How To Identify Honda Oil Pressure Issues

How To Identify Tire Damager In Your Honda Car

How To Solve A Shaky Honda Steering Wheel

How To Tackle A Faulty Honda Window

How To Tackle Excessive Exhaust Gas From Your Honda Car

How To Tackle Honda Tire Cracking

What Are Common Honda Electrical Issues?

Why Is Your Honda Car Heater Blowing Cold Air?

Do You Have A Clogged Honda Transmission Filter?

Do You Have A Misfiring Honda Engine?

How To Fix Squeaking Honda Brakes

How To Handle A Honda Tire Puncture

How To Identify Honda Transmission Failure Symptoms

How To Identify Uneven Honda Tire Wear

How To Improve Fuel Efficiency For Your Honda Car

How To Know If You Have A Honda Dead Battery

How To Know If You Have Honda Intermittent HID Headlight Issues

How To Replace Tail Lights For Your Honda

How To Reset The Check Engine Light In Your Honda Car

How To Tackle Overheating In Your Honda Car

Why Is Your Honda Car Not Locking Properly?
How To Change A Flat Tire For Your Honda Vehicle

How to Choose the Most Ideal Honda SUV

How To Fix Honda Airbag Warning Light
How to Identify a Honda Battery Leak

How To Identify Honda Premature Brake Disc Wear

How To Know If You Have a Honda Fuel Pump Issue
How To Know If Your Honda Engine Is Overheating

How To Reset Your Honda Airbag Module
How To Tell The Signs Of A Broken Honda Starter Motor

How to Turn Off Honda Passenger Airbag

What Should You Do When Your Honda Brake Light Comes On During Driving?
What To Do When The Honda Slip Indicator Light Comes On

Why Is My Honda Steering Wheel Shaking?

Has Your Honda Alternator Malfunctioned?
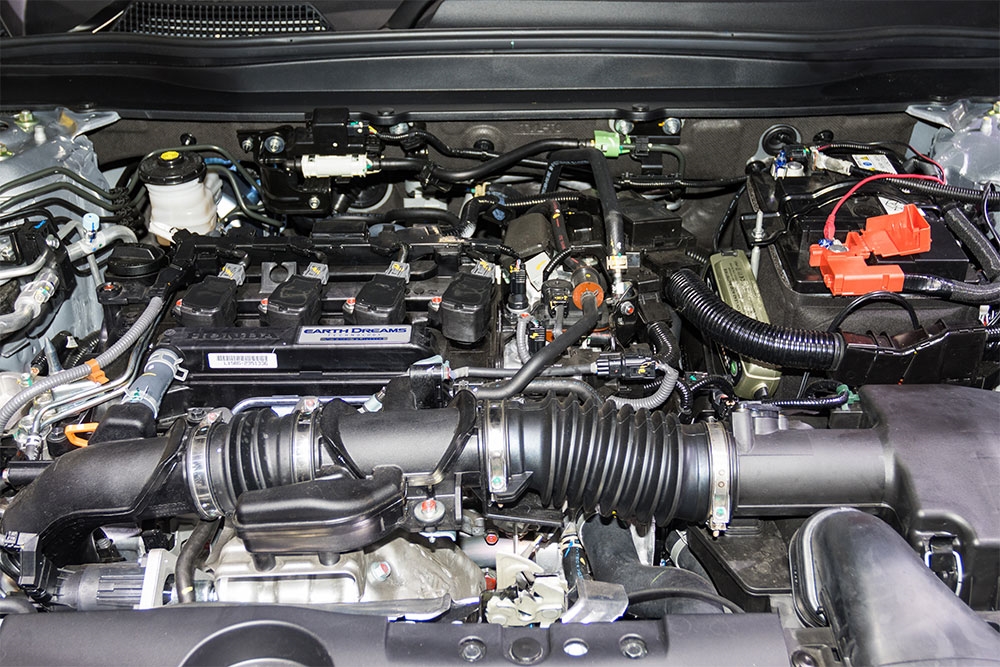
Has Your Honda Radiator Malfunctioned?

How To Adjust Your Honda Steering Wheel

How to Choose the Best Honda Hybrid Car

How To Clean Your Honda SUV Properly

How To Install A New Car Battery For Your Honda SUV

How To Install A New Honda Car Windscreen

How To Install New Tires For Your Honda Car
How To Replace Honda Brake Pads
How To Replace Honda Door Panels

How To Select Different Driving Modes In Honda Vehicles
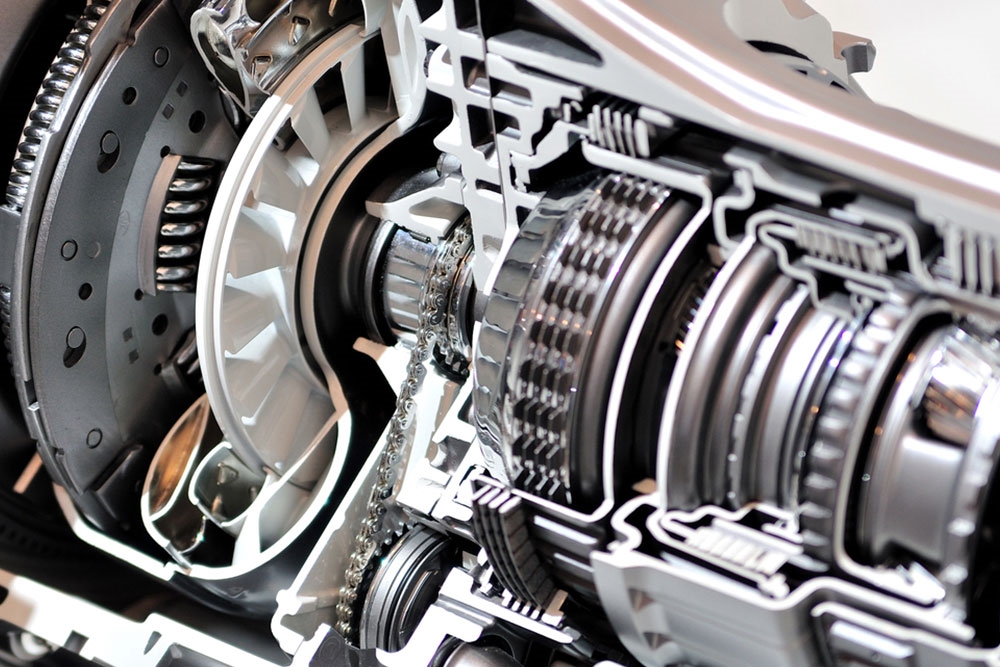
How to Tell the Signs of a Honda Gearbox Problem

How To Tell The Signs Of A Honda Transmission Fluid Leak
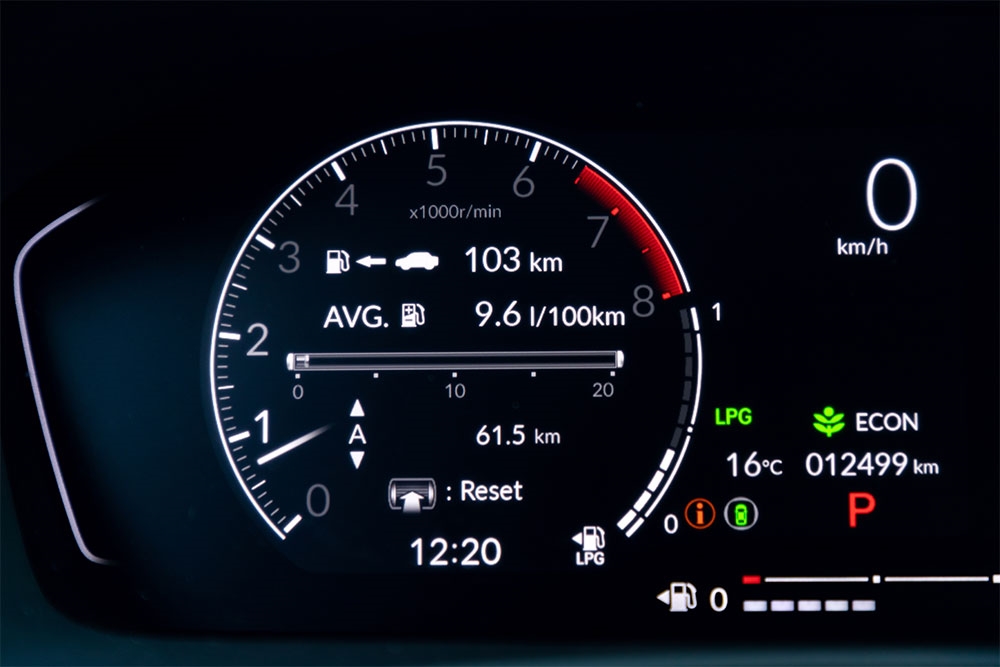
What Do Honda Dashboard Warning Symbols Mean?

How To Easily Connect A Bluetooth Device To Your Honda SUV
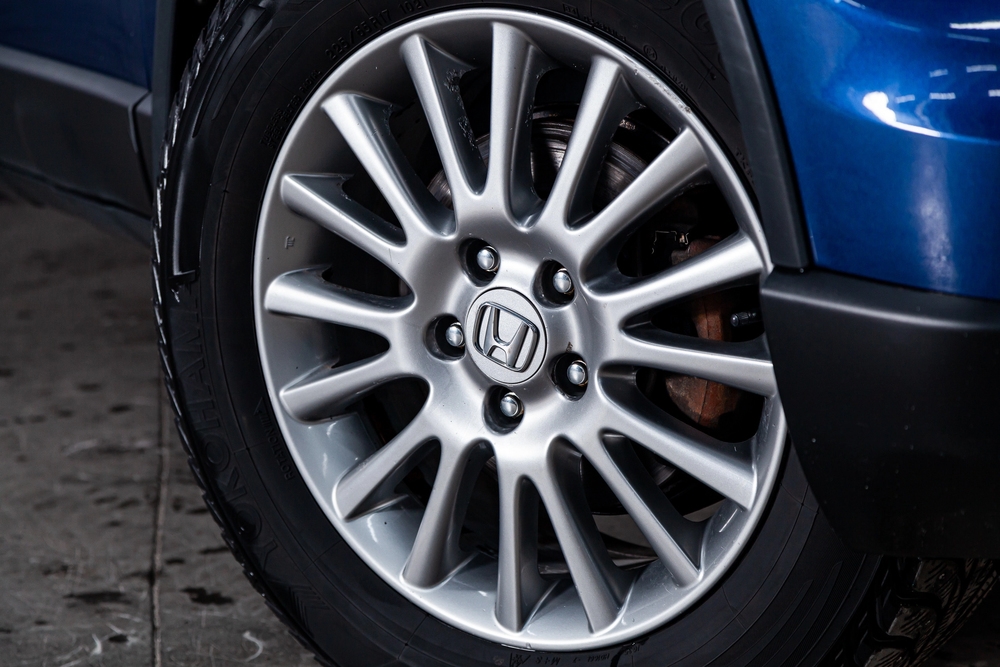
How To Set The Ideal Tire Pressure For Honda Vehicles

How To Start And Stop A Honda Hybrid Car
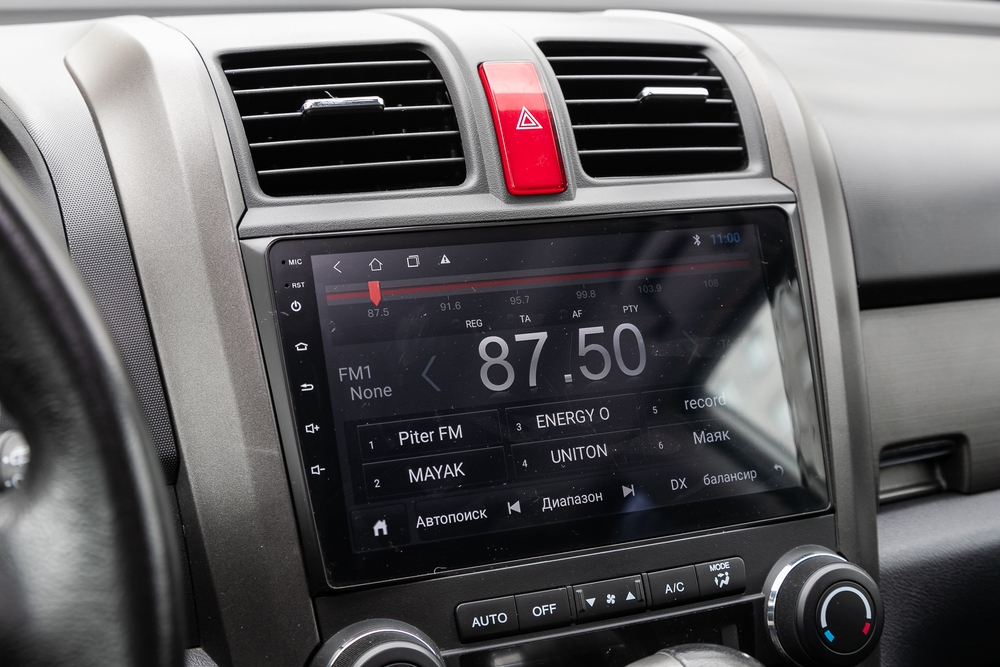
How To Troubleshoot Common Honda Car AC Problems

How To Use Cruise Control In Honda Cars

How To Use Honda Voice Command
How To Replace Honda Windshield Wipers

How To Replace The Battery In Your Honda Key Fob

How To Adjust Your Honda Car Clock


