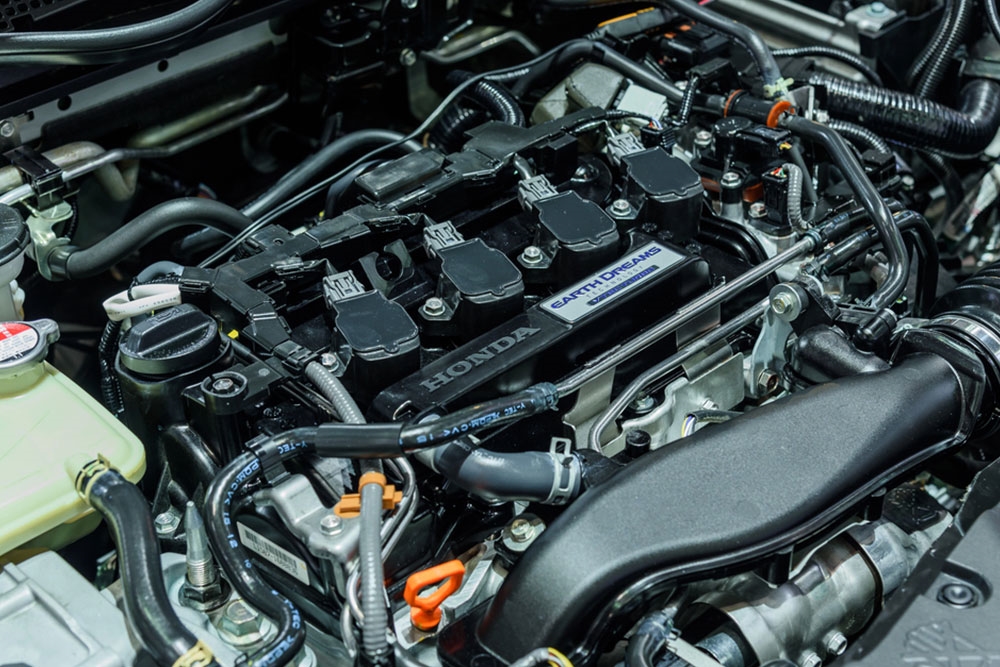
Replacing your Honda headlights is essential to maintaining clear visibility on the road and ensuring your safety during night driving or in adverse weather conditions. If you notice that your headlights are dim, flickering, or completely out, it’s time to replace them. This guide will take you through the steps to replace headlights, ensuring you can see and be seen on the road.
Why Replacing Headlights Is Important
Headlights play a critical role in road safety by providing the illumination needed to drive safely at night or in low-light conditions. Faulty or dim headlights can significantly reduce your visibility and make it harder for other drivers to see you. Regular maintenance and timely replacement of headlights ensure optimal performance and compliance with legal driving standards.
Tools and Materials You’ll Need
Before you begin, gather the necessary tools and materials:
- Replacement headlight bulbs (check your owner’s manual for the correct type)
- A pair of gloves to protect the bulbs from oil and dirt
- A screwdriver or socket wrench (depending on your Honda model)
Step-by-Step Headlight Replacement
- Turn Off the Engine and Open the Hood:
Start by ensuring your car is off, and the engine is cool. Open the hood and locate the back of the headlight assembly. - Remove the Headlight Assembly Cover:
Depending on your Honda model, you may need to remove a cover or dust cap from the back of the headlight assembly. Use a screwdriver or your hands to gently pry off the cover. - Disconnect the Electrical Connector:
Locate the electrical connector attached to the back of the bulb. Press the tab or release clip and gently pull the connector away from the bulb. - Remove the Old Bulb:
Twist the bulb counterclockwise to release it from the socket. Carefully pull it out and set it aside. - Install the New Bulb:
Take the new bulb out of its packaging, being careful not to touch the glass with your fingers. Oil and dirt from your skin can cause the bulb to overheat and fail prematurely. Insert the new bulb into the socket and twist it clockwise to secure it. - Reconnect the Electrical Connector:
Attach the electrical connector back onto the new bulb until you hear a click or feel it snap into place. - Replace the Headlight Assembly Cover:
Once the new bulb is securely in place, reattach the cover or dust cap to protect the assembly. - Test the Headlights:
Before closing the hood, turn on your headlights to ensure the new bulb is working correctly. Check both the low and high beams to verify proper installation.
Tips for Maintaining Headlights
- Replace in Pairs: It’s advisable to replace both headlights at the same time to ensure even lighting.
- Keep Lenses Clean: Regularly clean the headlight lenses to prevent dirt and grime buildup, which can reduce brightness.
- Check Alignment: Improperly aligned headlights can cause reduced visibility and glare for other drivers. If needed, have them professionally adjusted.
Visit Us for All Your Automotive Needs
Replacing your Honda headlights can greatly enhance your driving safety, but if you encounter any challenges or prefer expert help, visit our dealership. Our skilled technicians are ready to assist with headlight replacements, comprehensive car repairs, and maintenance services, including parts and tires. Stop by or schedule a visit today to keep your Honda in top condition.

Do You Have Worn Honda Wheel Bearings?

Has Your Honda Car Stalled On The Road?

How To Fix A Honda Coolant Leak

How To Fix A Noisy Honda Engine

How To Identify Honda ECU Problems

How To Identify Honda Oil Pressure Issues

How To Identify Tire Damager In Your Honda Car

How To Solve A Shaky Honda Steering Wheel

How To Tackle A Faulty Honda Window

How To Tackle Excessive Exhaust Gas From Your Honda Car

How To Tackle Honda Tire Cracking

What Are Common Honda Electrical Issues?

Why Is Your Honda Car Heater Blowing Cold Air?

Do You Have A Clogged Honda Transmission Filter?

Do You Have A Misfiring Honda Engine?

How To Fix Squeaking Honda Brakes

How To Handle A Honda Tire Puncture

How To Identify Honda Transmission Failure Symptoms

How To Identify Uneven Honda Tire Wear

How To Improve Fuel Efficiency For Your Honda Car

How To Know If You Have A Honda Dead Battery

How To Know If You Have Honda Intermittent HID Headlight Issues

How To Replace Tail Lights For Your Honda

How To Reset The Check Engine Light In Your Honda Car

How To Tackle Overheating In Your Honda Car

Why Is Your Honda Car Not Locking Properly?
How To Change A Flat Tire For Your Honda Vehicle
How to Choose the Most Ideal Honda SUV

How To Fix Honda Airbag Warning Light
How to Identify a Honda Battery Leak
How To Identify Honda Premature Brake Disc Wear

How To Know If You Have a Honda Fuel Pump Issue
How To Know If Your Honda Engine Is Overheating
How To Reset Your Honda Airbag Module
How To Tell The Signs Of A Broken Honda Starter Motor
How to Turn Off Honda Passenger Airbag
What Should You Do When Your Honda Brake Light Comes On During Driving?
What To Do When The Honda Slip Indicator Light Comes On
Why Is My Honda Steering Wheel Shaking?
Has Your Honda Alternator Malfunctioned?
Has Your Honda Radiator Malfunctioned?
How To Adjust Your Honda Steering Wheel
How to Choose the Best Honda Hybrid Car
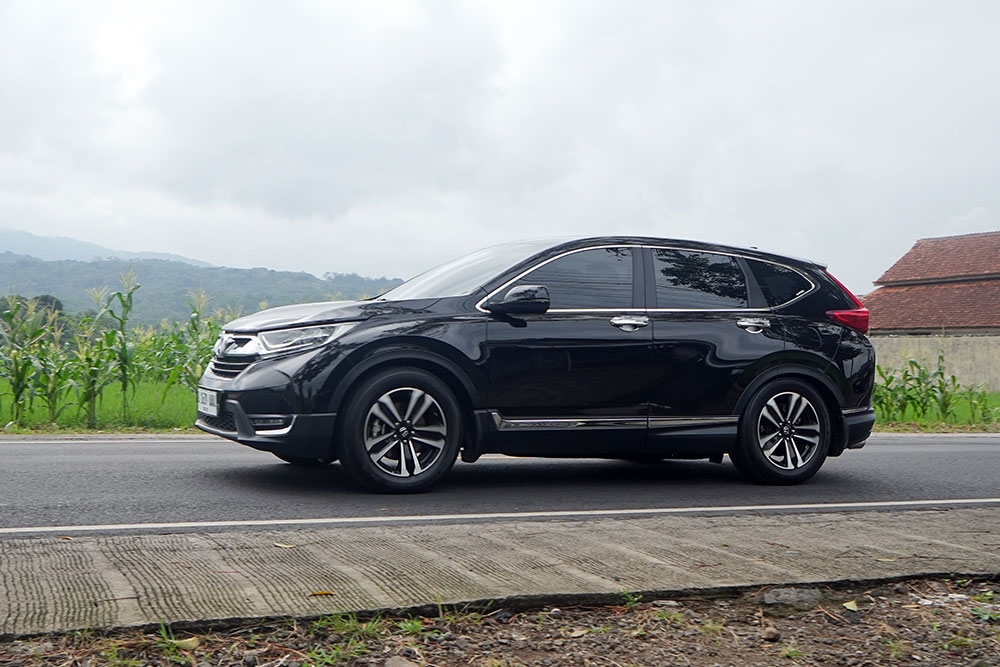
How To Clean Your Honda SUV Properly
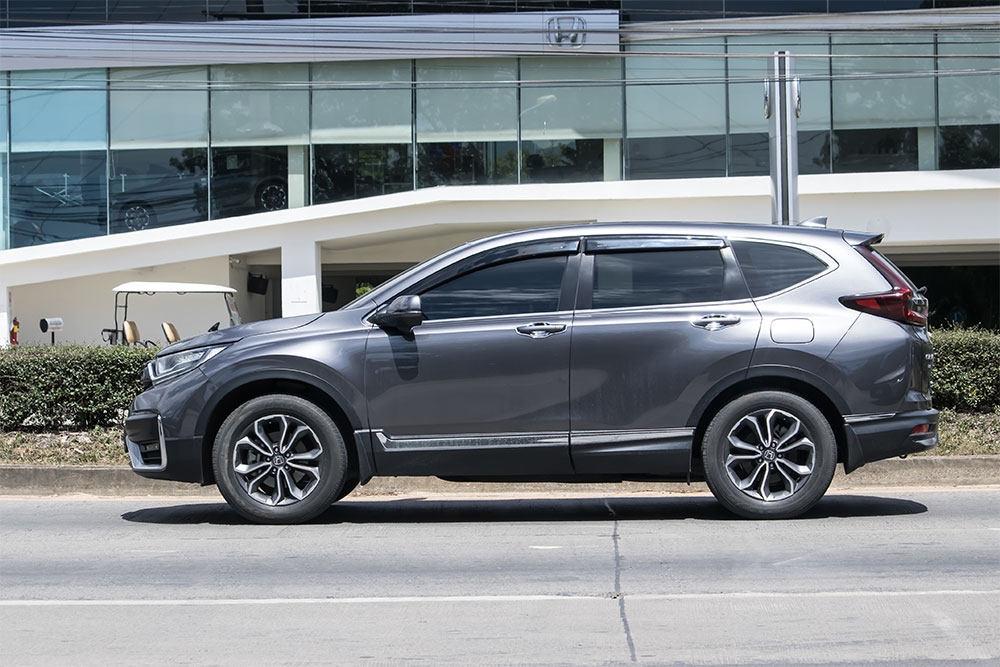
How To Install A New Car Battery For Your Honda SUV
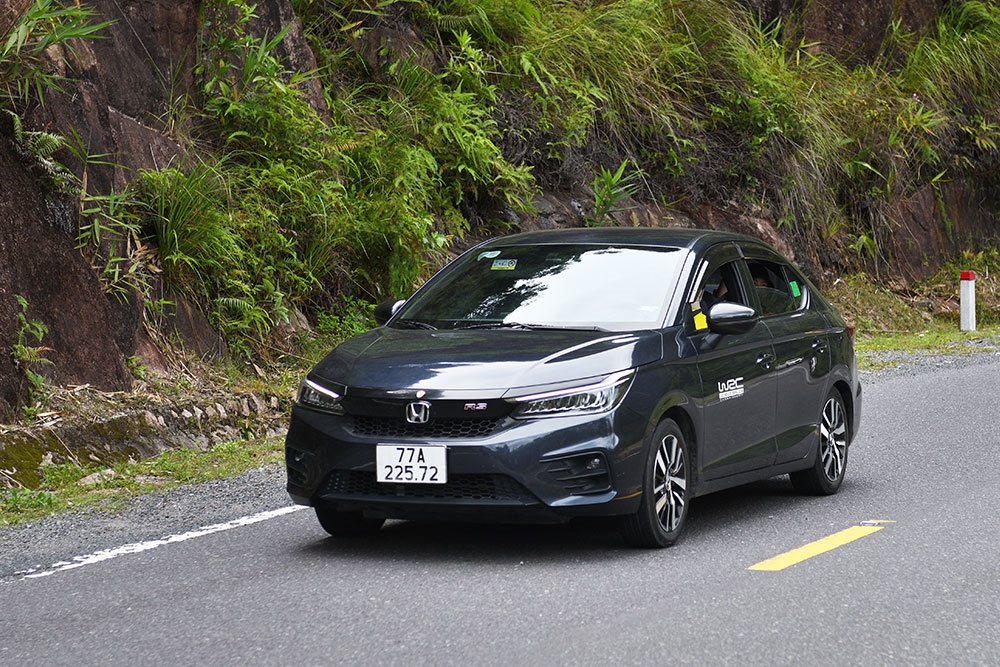
How To Install A New Honda Car Windscreen
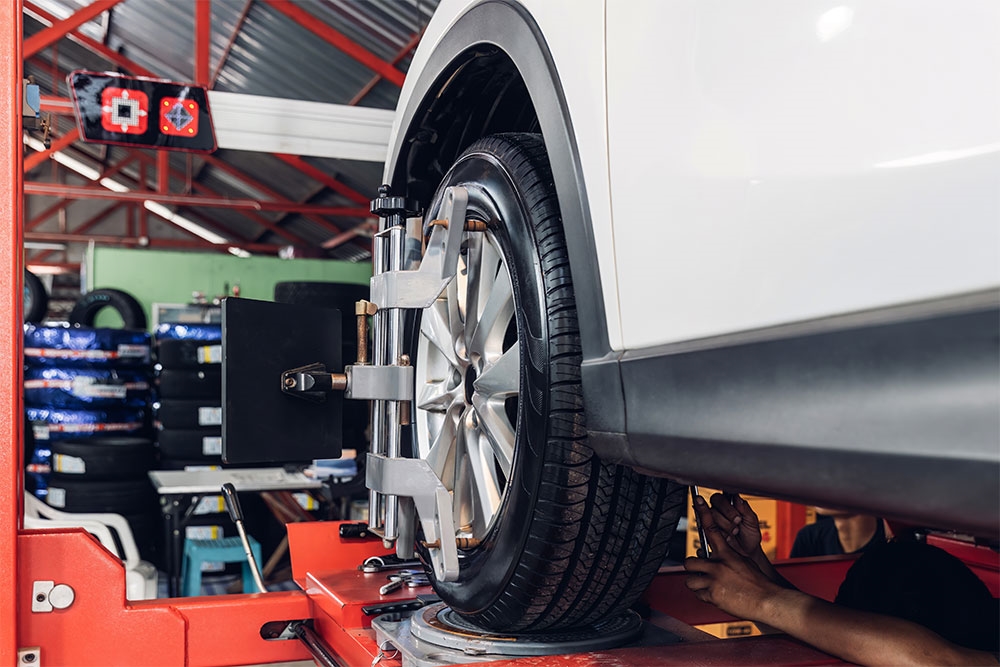
How To Install New Tires For Your Honda Car
How To Replace Honda Brake Pads
How To Replace Honda Door Panels
How To Select Different Driving Modes In Honda Vehicles
How to Tell the Signs of a Honda Gearbox Problem

How To Tell The Signs Of A Honda Transmission Fluid Leak
What Do Honda Dashboard Warning Symbols Mean?
How To Easily Connect A Bluetooth Device To Your Honda SUV
How To Set The Ideal Tire Pressure For Honda Vehicles
How To Start And Stop A Honda Hybrid Car
How To Troubleshoot Common Honda Car AC Problems

How To Use Cruise Control In Honda Cars

How To Use Honda Voice Command
How To Replace Honda Windshield Wipers
How To Replace The Battery In Your Honda Key Fob
How To Adjust Your Honda Car Clock
